Document types
A document type is the classification a user picks when uploading a document. It determines the keywords that appear, the security that applies, where the file is stored, how the document is named, and which retention rules can target it. You manage document types under Admin settings → Documents → Document types (open Admin settings by clicking your profile at the bottom-left of the sidebar). The list shows every type with its group, default file format, storage, whether revisions are enabled, and its status. Search and filter by name, group, or status to find a type, then open it to edit.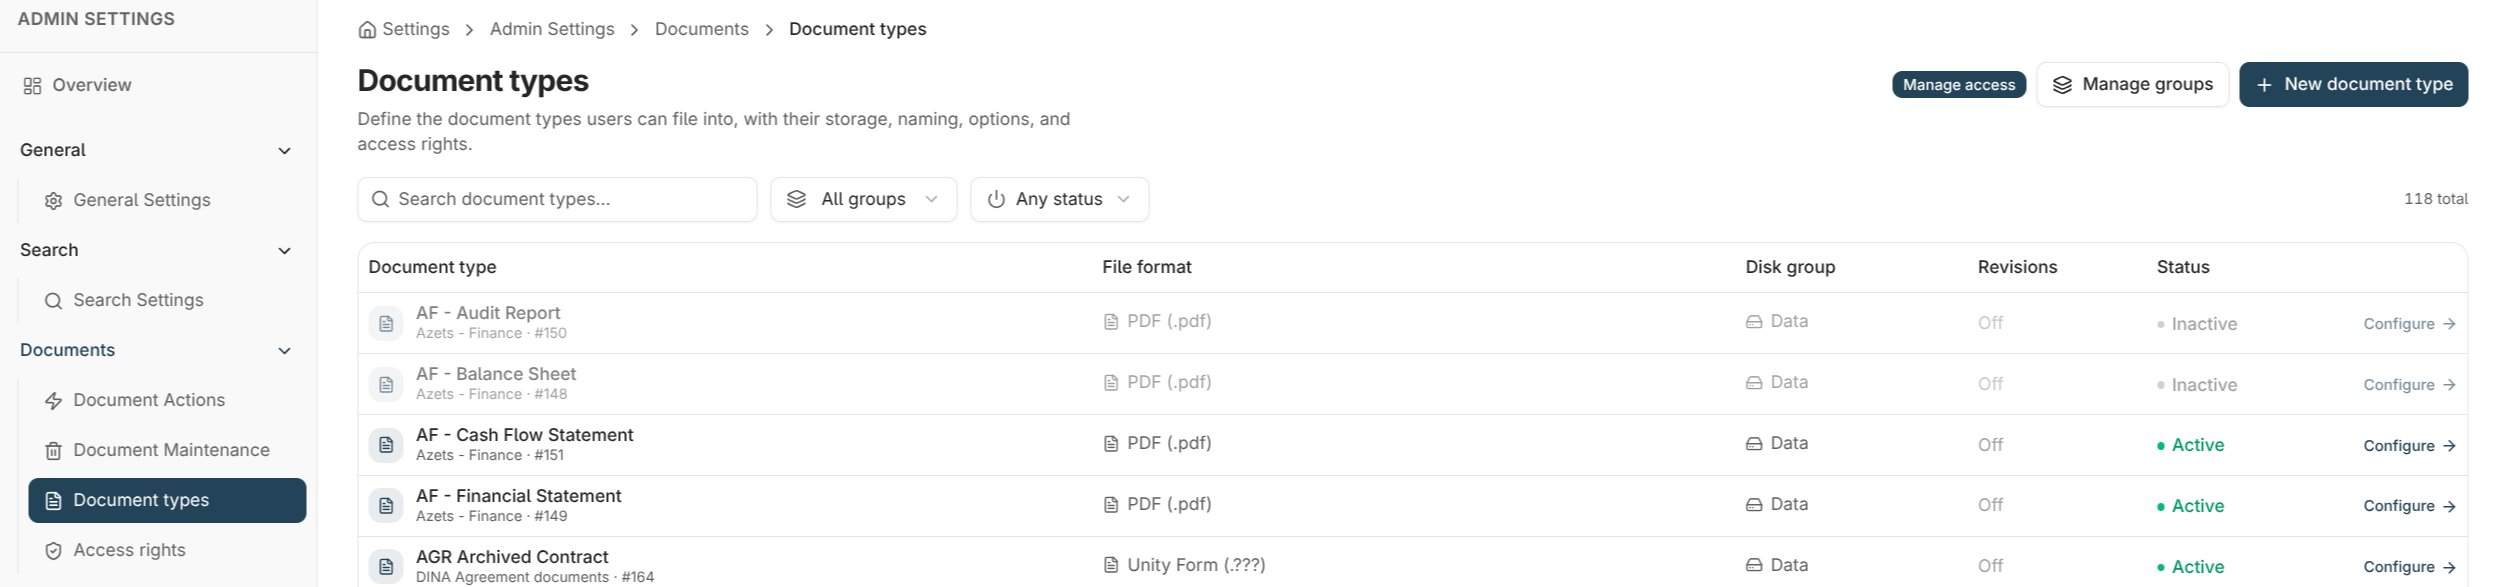
What’s on a document type
| Setting | What it does |
|---|---|
| Name | How the document type appears to users and in search. Must be unique. |
| Group | The document type group it belongs to. |
| Default file format | The file format new documents of this type are expected to use (for example, PDF). |
| Storage | Where the document’s content is physically stored. Pick from the configured storage locations. |
| Auto-naming | A template that builds each document’s display name automatically — see Auto-naming below. |
| Revisions | Whether documents of this type keep a full revision history. See Revisions. |
| Active | Whether the type is available to users. Inactive types are hidden from upload and indexing but keep their existing documents. |
Creating a document type
- Open Admin settings → Documents → Document types and choose New document type.
- Enter a name and pick a group, default file format, and storage.
- Optionally set an auto-naming template and turn on revisions.
- Optionally copy settings from an existing document type to reuse its access rights and keyword assignments as a starting point.
- Create the type, then assign its keywords from Keyword assignments and its access rights.
Auto-naming
Auto-naming gives every document a consistent, readable display name without users having to type one. You write a template that mixes fixed text with tokens — placeholders that are replaced with values from the document when it’s stored.| Token | Replaced with |
|---|---|
%N | The document type name |
%D2 | The document date |
%D1 | The date the document was stored |
%I1 | The time the document was stored |
%U | The name of the user who stored the document |
%# | The document’s unique number |
%K… | A keyword value — see below |
%K followed by the keyword type’s five-digit ID and an instance number — for example %K00123.1 is the first value of keyword type 123. You normally insert keyword tokens from the token picker rather than typing them, so you don’t need to know the IDs.
Invoice - ACME Ltd - 15-07-2024.
- Use the token picker in the auto-naming field to insert any token, and watch the live preview update as you build the template.
- Dates and times use your environment’s configured date and time formats.
- If you leave the template empty, documents fall back to the default name — the document type name followed by the document’s number.
- Generated names are limited to 255 characters.
Recomputing names on existing documents
Changing a template only affects documents created after the change — unless you recompute. From a document type’s detail screen you can apply the auto-name to existing documents, which rewrites the display name of every current document of that type using the new template.- A preview tells you how many documents will be affected before you start.
- Recompute runs as a background job you can monitor and stop; only names that actually change are rewritten.
Revisions
When revisions are enabled, each change to a document keeps the previous content as a restorable version, so you get a full history of how a document evolved.Activating and deactivating
Use Active / Inactive to control whether a document type is offered to users:- Deactivate to retire a type. It disappears from upload and indexing, but its existing documents stay searchable and intact.
- Reactivate at any time to make it available again.
Document type groups
Document type groups organise related types and make them easier to secure and find. Manage them from the Manage groups action on the Document types screen: create a group, rename it, or delete one that’s no longer needed.Deleting a document type
Deleting a document type is permanent and requires the Document Structure Administration permission (see Application permissions). To protect your archive, a type cannot be deleted while documents of that type still exist — deactivate it instead if it holds documents. When a delete is blocked, Nobly Insight tells you what’s in the way so you can resolve it.Where to read next
Keyword assignment models
Add keywords to a document type as standalone fields or as keyword type groups.
Document access rights
Decide what each user group can do with documents of this type.